Please note: this guide is for the Archer C2 hardware version 1 router.
*We recommend that you do the following with a cable plugged in from one of the LAN ports of the
router to your computer to prevent you from being immideately disconnected after changing the wireless settings.
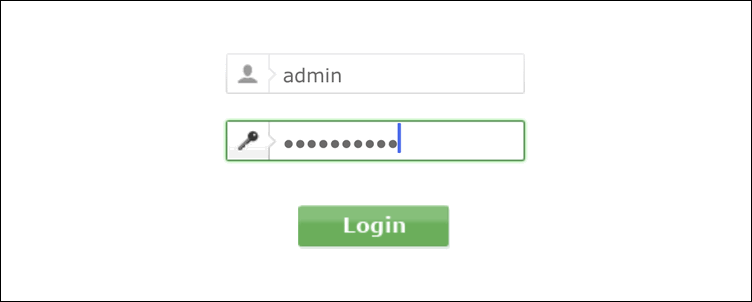
The following status page will appear once you have logged in
Navigate to Wireless 2.4GHz > Basic Settingson the left-hand menu
Please then select the Channel drop-down list (which should be set to Auto) and select a channel that is unoccupied in your area. - If/when possible set your wireless channel to 2 channels away form the nearest occupied wireless channel.
Once done, please click on the Save button and the new wireless channel settings will then be applied.
To change the channel on your 5GHz wireless:
Navigate to Wireless 5GHz > Basic Settingson the left-hand menu
Please
then select the Channel drop-down list (which should be set to Auto)
and select a channel that is unoccupied in your area.
If you have any trouble with the above, please don't hesitate to contact our support team on 010-593-2665 or via mail